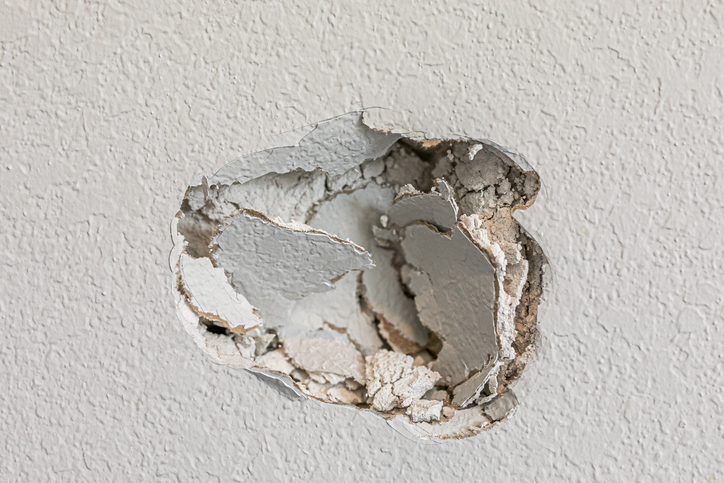
If you have ever tried to patch a hole in drywall before, you know the frustration of the finished product looking like a patch.
There are hundreds of websites and videos that will show you how to patch drywall, but many of them will give you less than desired results. The fact of the matter is, to patch drywall so it blends with the existing wall (or ceiling) especially in high light areas takes considerable skill and experience.
If you follow these next steps from a pro, your chances of a desirable finished product will be greatly increased.
Tools Needed –

- Utility knife and/or keyhole saw (preferable both)
- Screwgun or phillips screwdriver
- 6″ putty knife
- 10 – 12″ drywall taping knife (or trowel)
- Mud pan or hawk
- Medium – fine grit sanding sponge
- Dropcloth or other materials to cover area
Materials needed –
- Ready mix all purpose joint compound
- Piece of wallboard the thickness of wall. Usually 1/2″
- Drywall screws. Usually 1 1/8″ coarse thread
- 1 x 2 wood for backer
- Drywall tape
- Spray can of texture as needed
- Primer and paint to match
If there is a construction site nearby, you may want to stop at one of the job sites and ask one of the drywall workers tell them what your doing and ask if they have a piece of scrap wallboard, a dozen screws, a couple feet of joint tape and half gallon of mud. (bring container) Chances are they would be happy to help you out. Please, do not just take any materials from a job site, ask first.