Step 8
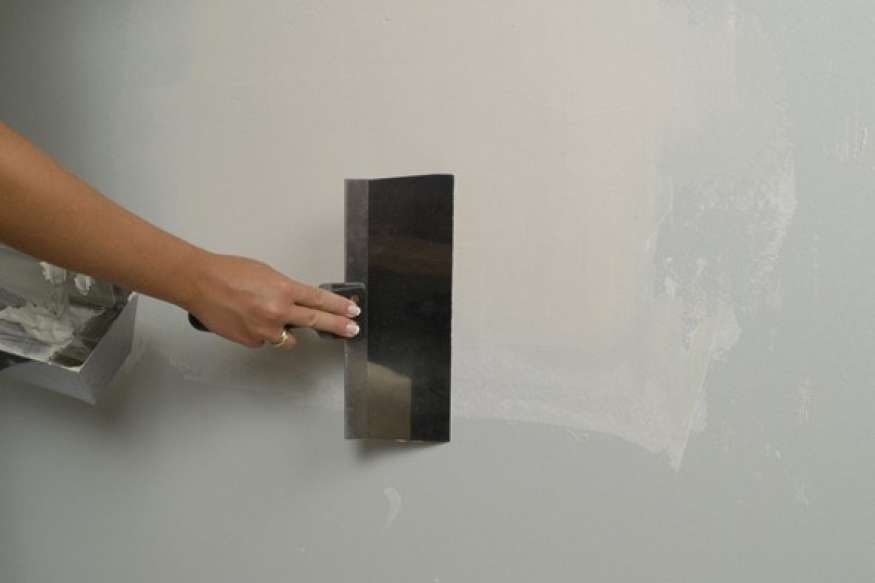
Using a 10″ or 12″ taping knife (as shown) or trowel, spread second coat of joint compound over patch at least 6″ beyond tape. Feather (taper) edges to create a smooth transition to the surrounding wall surface. Allow to dry thoroughly. Tip – Add little if any water to the ready mix joint compound. You want it thicker than when you applied the tape, but not so think it does not spread easily. If you need to add water, do so a little at a time and remix.
After joint compound had dried, sand patch area to remove any bumps or ridges from the previous coat and repeat above step 8 by applying a third coat of joint compound 4 – 6″ beyond second coat. Again feathering edges for a smooth transition to surrounding wall surface. Allow to dry thoroughly. Don’t try to overwork the joint compound, just apply as smoothly and level as possible. Any high or rough area can be easily sanded once dry.
Tip – Check for “flat” using the edge of your knife or trowel You want the finished patch to be as flat – level as possible. You can sand “high” areas to help bring level. If the patched area is still not flat, apply another coat of joint compound on the “low” area to bring the entire surface flush with the surrounding wall. Allow each coat of joint compound to thoroughly dry before applying the next coat.
It’s not unusual for the finished patch to be much larger than the actual hole. ex: 4″ x 4″ hole can easily end up being 18″ x 18″ or even larger when finished. The goal is to gradually blend the patched area to the surrounding wall surface.